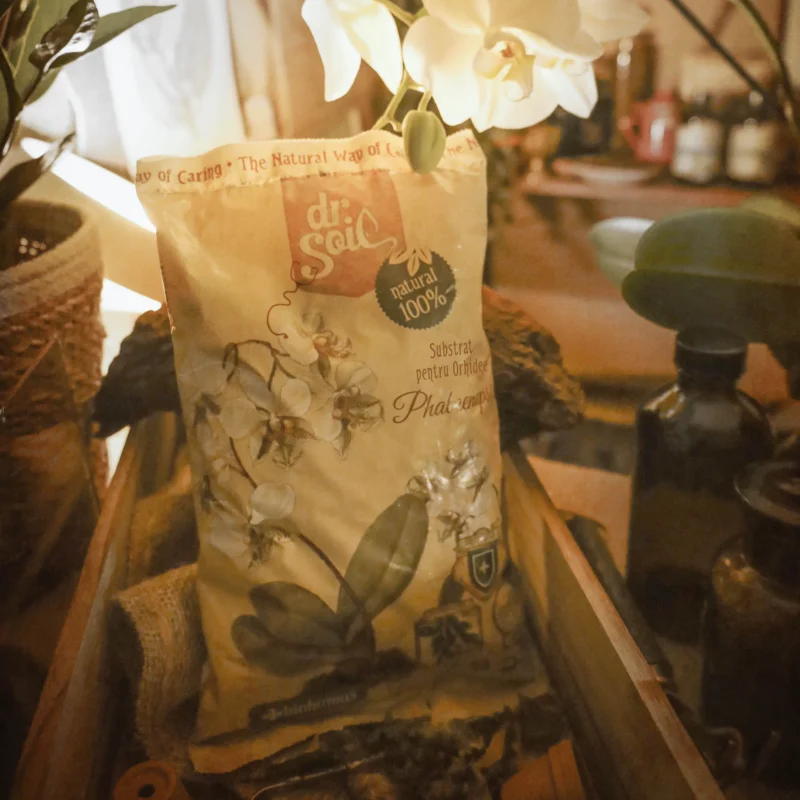
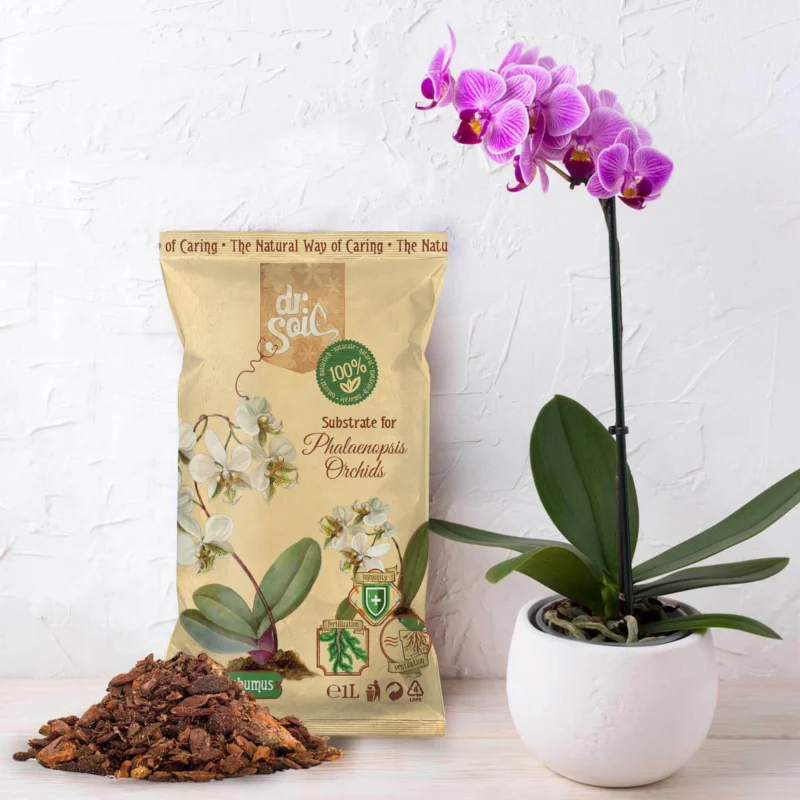
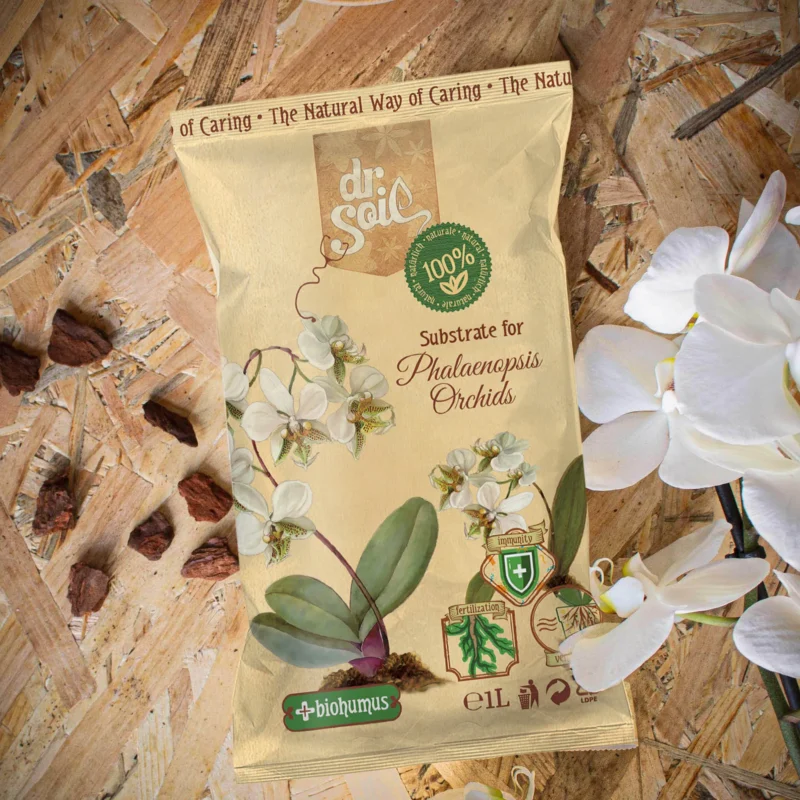
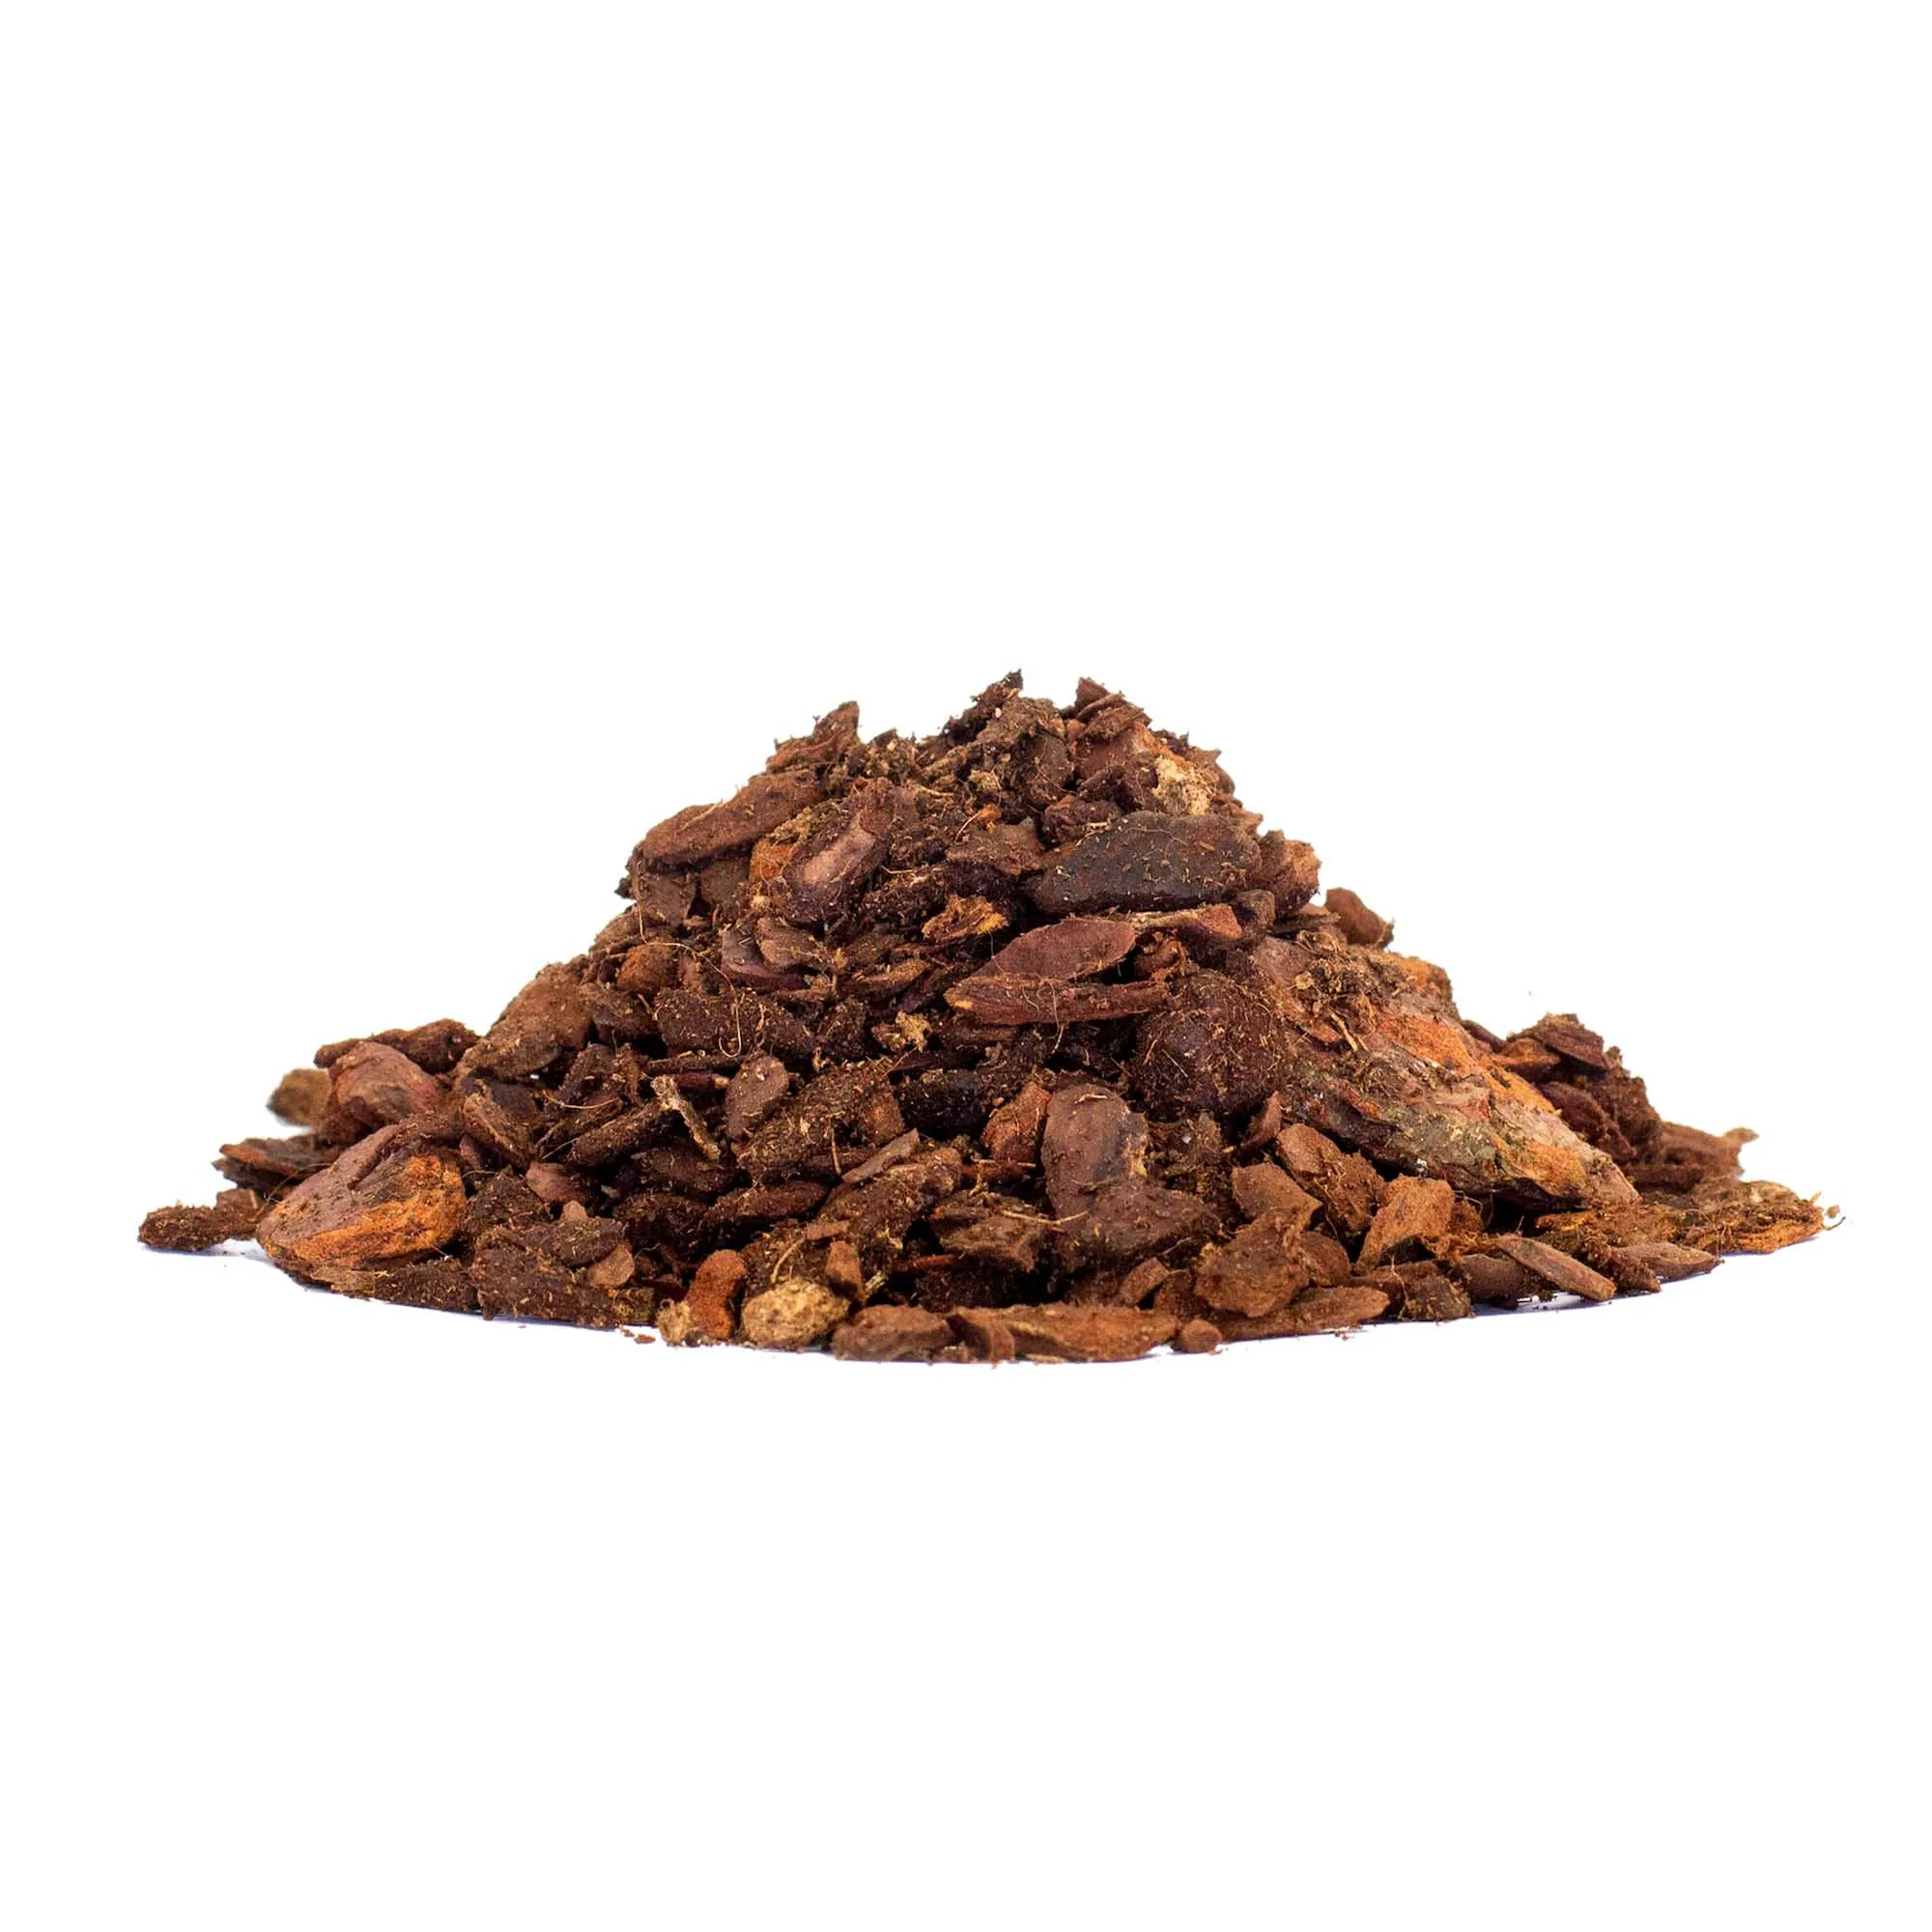
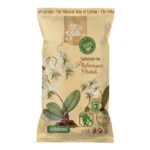
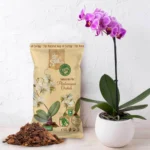
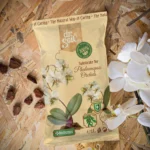
Natural Substrate for Phalaenopsis Orchids, bark, moss, vermiculite, mix 1L,

£6.24

549 in stock

Placeholder
Natural Substrate for Phalaenopsis Orchids, bark, moss, vermiculite, mix 1L, £6.24

Natural Substrate for Orchid

Benefits of natural substrate: Water drainage, Aeration, Moisture retention, Mimicking natural habitat,  Nutrient availability, Root anchorage, Reusability

Details
Intended for: all species of Phalaenopsis Phalaenopsis orchids (Aphrodite, Philippinensis, Sanderiana, Schilleriana, etc.) and other epiphytic orchids (with aerial roots).
Delivery & Returns
FREE UK DELIVERY

Premium Natural Substrate for your plants

Dr. Soil’s stands for a good and nourishing growing medium, that recreates, as much as possible, the natural development environment. This is why we created formulas based on only natural ingredients packed in specific quantity bags for most of your favorite plants. Our formulas provide great ventilation of the roots and a great gases exchange with the atmosphere, delaying the decomposition process. Each substrate recipe contains a good amount of biohumus, full of microorganisms that naturally fertilizes and nourish the entire plant structure, from the root microcapillaries till the tip of the smallest leaf. Once the plant is potted in a Dr. Soil’s Substrate, the entire vegetal structure gets natural immunity and better strength when dwelling with diseases or parasites, keeping the plant revitalized, glowing and good looking. Moreover, it is a very good neutralizer of soil pH. How is vegetable compost used?

1. In the case of indoor or outdoor plants in pots or planters: the compost is incorporated into the soil in the pots, so that the mixture becomes a fluffy, aerated material, in which the roots of the plant can breathe. Water as needed.

2. In the case of seeds, seedlings or young plants: prepare a mixture of 2 parts soil and one part compost and spread it in pots or alveolar trays. Water as needed.

3. In case of use in the garden: the compost is incorporated superficially with the existing soil in the garden. Planting continues normally. If necessary, add another layer of substrate. Fertilization is not necessary for a period of 6 months. After planting, water as usual after 7 days.

Organic Vermiculite

Place the plant in the new pot, cover the roots with the substrate and press gently and evenly around the plant. Water the plant slowly and moderately. After planting: water as usual after 7 days. If necessary, add a layer of substrate. Fertilization is not necessary for a period of 6 months. Storage conditions: keep the bag in a dry place in the original packaging. Keep out of reach of children. Do not store in direct sunlight. Validity period: unlimited

Prefertilized substrate with nutrients for up to 6 months, ready-to-use

Intended for: all species of Phalaenopsis Phalaenopsis orchids (Aphrodite, Philippinensis, Sanderiana, Schilleriana, etc.) and other epiphytic orchids (with aerial roots).

Composition:

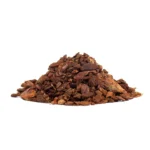
Small-grained Mediterranean pine bark (min. 80%), white peat, biohumus, organic matter
This formula states the main needs of epiphyte orchids:
maximum aeration of the roots in the container,
fertilization and natural immunity, ensured by the intake of finely granulated biohumus, rich in
nutrients, vitamins and minerals, as well as amino acids. (pH 6.7)
resistance to stress situations or diseases

How to use the substrate for Phalaenopsis orchids?

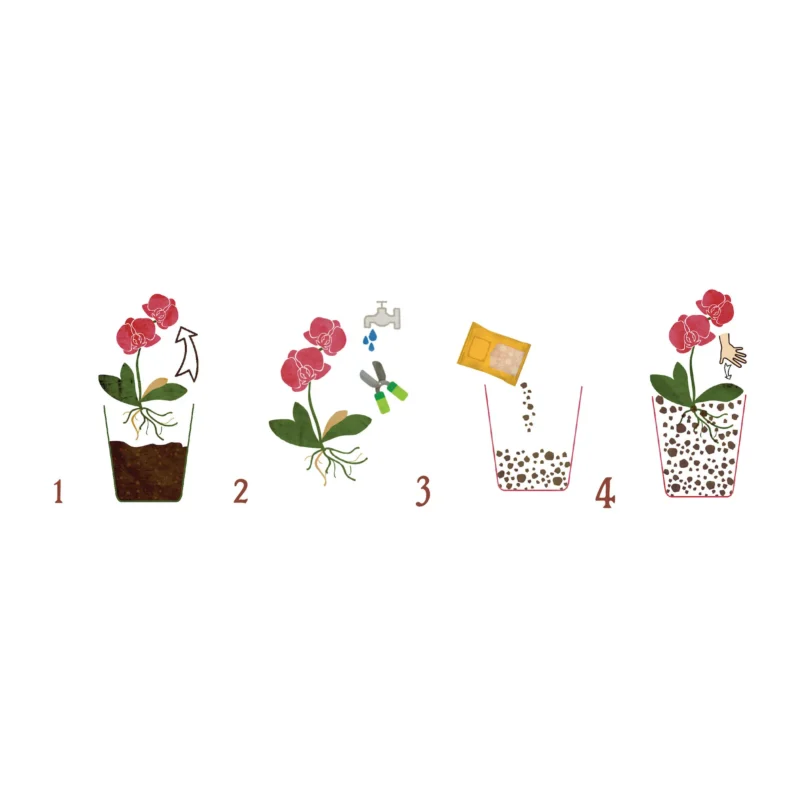
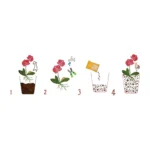
Choose a special pot for orchids, taking into account the size of the plant to be transplanted. Clean the orchid of all dead elements (leaves, roots). The root of the plant will be washed off the old substrate with warm water. A layer of the product will be placed in the new pot so as to maintain the previous planting height. Place the plant and cover with substrate, pressing lightly and evenly around it. During the first 7 days, the plant is not watered, allowing the substrate to settle naturally in the pot and the roots to adapt to the new environment. After 7 days, watering resumes normally. Fertilization is not required for a period of 6 months.

Storage conditions:

Keep the bag in a dry and ventilated space, in the original packaging.
Keep out of reach of children. Throw the packaging in the trash.
Do not store in direct sunlight.
Validity period: unlimited

How to Natura Substrate for plants?

Using a natural substrate for orchid flowers can provide an ideal growing medium that mimics their natural habitat. Here’s a step-by-step guide on how to use a natural substrate for orchids:

  1. Select the right substrate: Orchids can thrive in various natural substrates, such as sphagnum moss, bark chips, coconut coir, or a combination of these. Choose a substrate that suits the specific needs of your orchid species and consider factors such as water retention and aeration.
  2. Prepare the substrate: If you’re using sphagnum moss, soak it in water until it becomes moist but not overly saturated. For bark chips or coconut coir, ensure they are clean and free from any contaminants.
  3. Select an appropriate pot: Orchids generally prefer pots with good drainage to prevent waterlogging. Opt for pots with drainage holes at the bottom or use a specialized orchid pot that allows proper aeration and water flow.
  4. Place a layer of substrate in the pot: Start by adding a layer of substrate at the bottom of the pot. The depth of the substrate layer will depend on the size of the orchid and its root system. Typically, a layer of 1-2 inches is sufficient.
  5. Carefully position the orchid: Gently place the orchid plant on top of the substrate layer in the pot. Ensure that the roots are spread out evenly and not cramped or tightly packed.
  6. Fill the pot with substrate: Once the orchid is in position, carefully fill the pot with more substrate around the roots, ensuring they are adequately covered. Gently tap the pot to settle the substrate, but avoid compacting it too tightly as orchid roots require air circulation.
  7. Adjust the position: While filling the pot with substrate, you may need to adjust the position of the orchid to ensure it sits upright and the leaves are not crowded against the pot edges.
  8. Water the orchid: After potting the orchid in the natural substrate, water it thoroughly until water drains out from the bottom of the pot. This helps settle the substrate and provides initial hydration to the plant.
  9. Observe and adjust watering: Orchids potted in natural substrates generally require less frequent watering compared to those in traditional potting soil. Monitor the moisture levels by touching the substrate and water only when it starts to feel slightly dry. Avoid overwatering, as excessive moisture can lead to root rot.
  10. Provide proper light and humidity: Orchids thrive in bright, indirect light and high humidity. Place them in a location where they receive ample light without direct sunlight. You can also enhance humidity levels by placing a tray of water near the orchids or using a humidifier.

Remember to research the specific requirements of your orchid species, as some may have unique preferences regarding substrate type and care. By using a natural substrate and providing optimal growing conditions, you can help your orchid flourish and enjoy its stunning blooms.